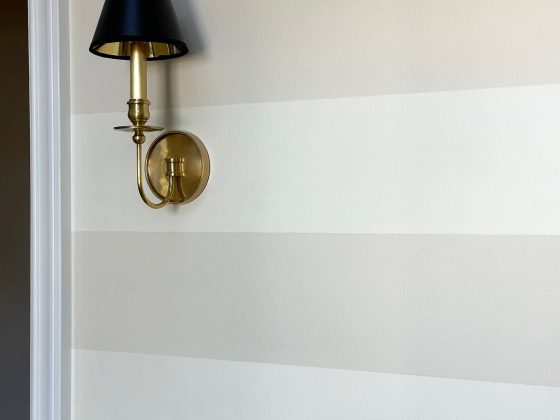
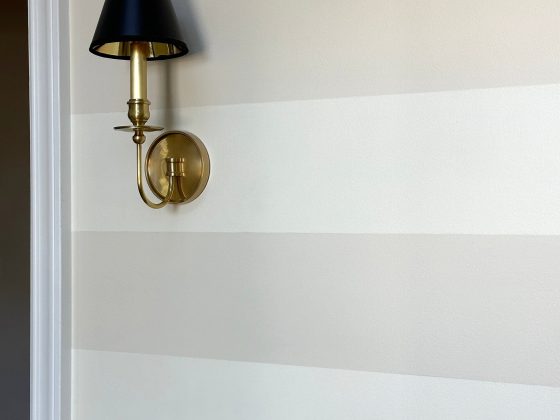
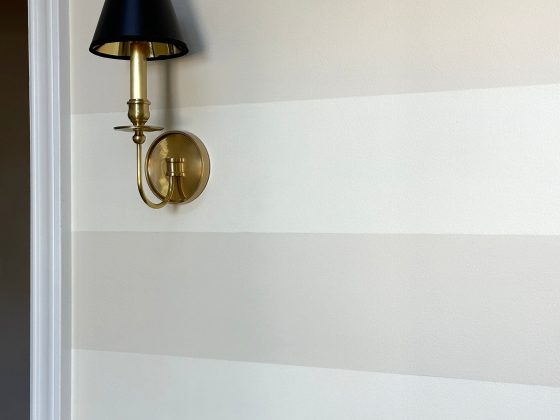
Outlets & switches are a necessary element found in all homes. However, they can often be a challenge to design around. Today, I wanted to share my best designer tips for making outlet and switch cover plates look their best. While a necessity, they certainly don’t have to be a dreaded eyesore. Click through for some inspiring installation ideas for any room in your home. These easy upgrades make a big impact and feel more customized, intentional, and designerly than builder-grade cover plates.

Before we dive in, there are plenty of ways to hide certain outlets like implementing a floor outlet (pictured below in my home office), or disguising them with clever styling, but let’s be realistic- they’re a natural and common element found in every room in a house. There is no possible way to style or plan around all of them. That’s where this post comes in… being intentional, in terms of design.

Design Tips
First, and foremost- I wanted to share my personal design philosophy for switches & outlets…
My goal is always to make light switches and outlets feel as if they belong or seamlessly blend. The bottom line- they should feel intentional.

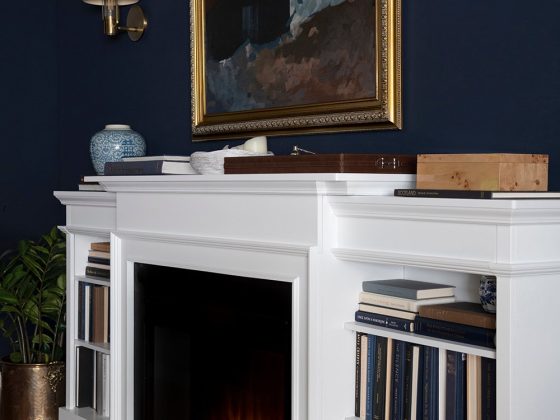
Therefore, I often prefer switch plates or outlet covers to match whatever wall they’re installed on. For example, the builder grade outlet cover (pictured above) actually works very well against the white wall in my entryway. That was an intentional decision on my part… no need to reinvent the wheel. A brass outlet cover would have been higher contrast and definitely would have been far more obvious than this white option.

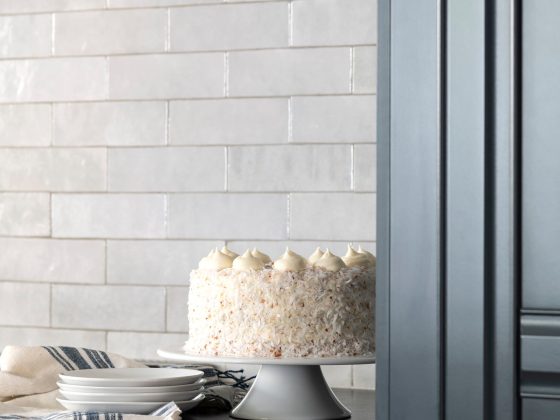
In my kitchen, we have a warm gray tiled backsplash (pictured above). I ended up painting the outlet covers to match the backsplash tile. Again, my goal was to make the outlets seamlessly blend. From afar, they practically go unnoticed. They’re easier to style around, given they’re the same color.

I’m also a fan of tucking outlets into cabinetry, vanities, furniture, and other areas where it makes sense. Even though the outlet shown above lives inside one of our kitchen cabinets, I still painted it to match (see my color matching my kitchen cabinets here).
Brass Covers & Switch Plates

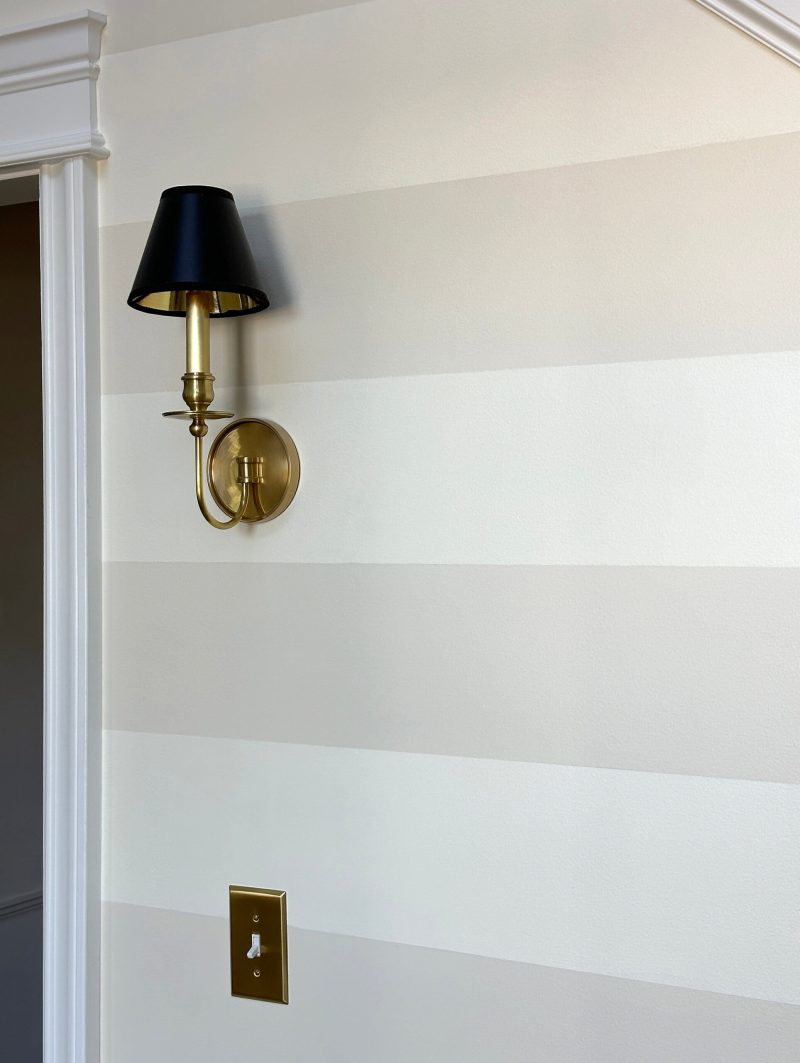
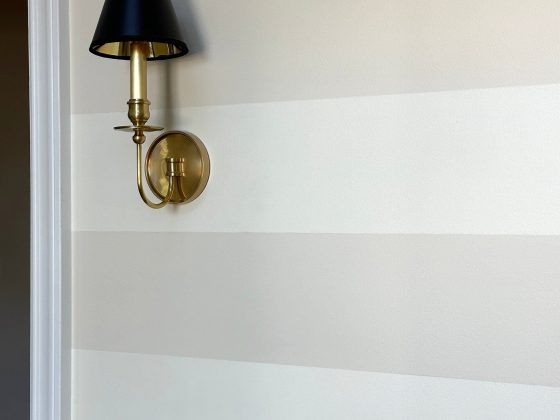
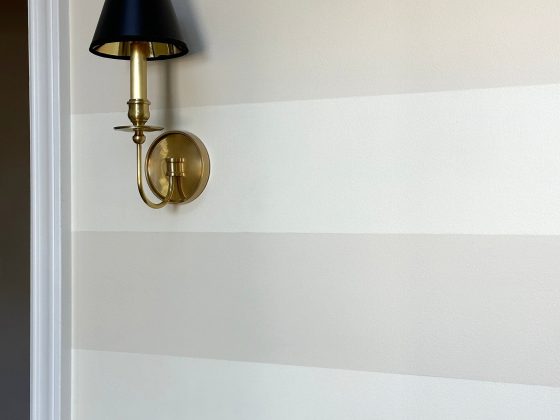
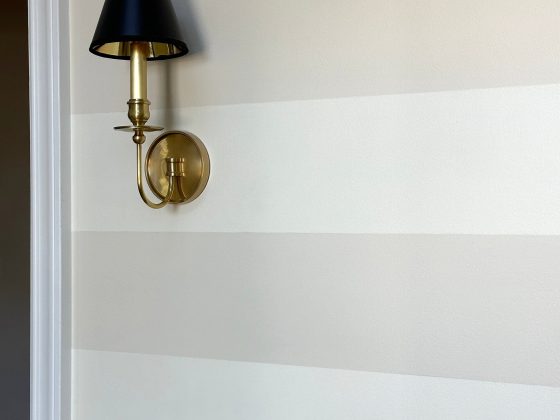
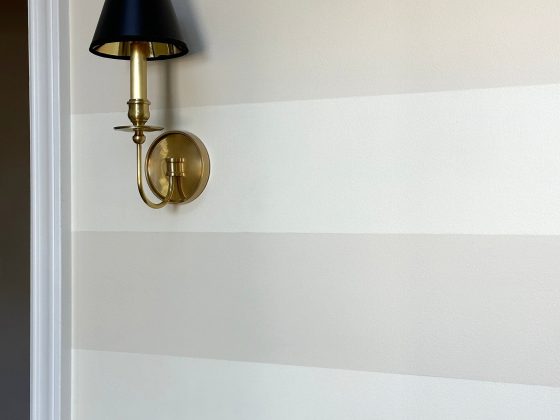
Other times, light switches are in a terribly obvious place, and you may need to embrace their aesthetic. In these instances, I’ll often use a brass or painted switch plate that feels cohesive with the space. I do this more often for light switch plates, as opposed to outlet covers. I’ll link some of my favorites for you below.
Click directly on each cover or switch plate below to be redirected.
We have brass switch plates in our basement, the entryway, and the hall. I’m sure I’ll continue to make updates as we renovate our home, but these feel especially intentional when they’re near a light fixture with the same finish…

Classic White Covers & Switch Plates

I’m also a fan of classic white switch plates. These are perfect for installing against a white wall or white tile. If you’re going with a basic white, there are some textural details that could play nicely alongside millwork. I’ll link some of my go-to white outlet covers and light switches.
Click directly on each cover or switch plate below to be redirected.
More often than not, I’m purchasing white switch plates and outlet covers. Why? If they’re not being installed against a white material or wall, I typically choose to paint them. Which brings me to my next design tip…
Painting and Wallpapering Switch Plates

While there are switch plates made specifically for painting and even wallpapering- you can also just buy white and prime them, then paint it as normal. That’s usually my go-to, and I’ve never had one scratch or chip. If you’re wallpapering, you’ll definitely want to purchase the specific cover made for wallpaper. Again, when I’m color drenching these- my goal is to have them seamlessly blend.

FAQ
No. In fact, mine do not. I’m a big fan of keeping them consistent within a room (or visual area). I also consider the fixtures in a room. I try to make sure the brass finishes are cohesive, if I’m heading in that direction.
I think they’re fun in the right space and definitely an opportunity to be creative. If they’re not going to blend seamlessly with your wall, make sure they have enough contrast- go bold with color or pattern to make it feel like an intentional creative move.
I love them! We actually installed these throughout our basement media room, basement bar / kitchen, and plan to continue them downstairs. We had to rewire much of the electrical on our lowest level, so these were a nice replacement. They’re much more expensive than swapping the switch plates though… the push button kit, that is. 
Against patterned wallpaper, I’d definitely buy a cover you can wallpaper to match. I love that high-end, seamless look! Otherwise, I painted my light switch cover the same color as my grasscloth wallpaper in our celadon guest room.
Not at all! Sometimes they make the most sense when you want them to virtually disappear. Take my staircase wainscoting for example (pictured below). The light switch is awkwardly tucked into the millwork and the angles aren’t doing it any favors. If I had used a brass light switch cover, the contrast would draw your eye directly to it. The white made far more sense, so it blends without standing out like a sore thumb.

Relevant
Looking for more practical, quick, and easy home improvement projects that can be done in a day? Here are some reader favorites you might enjoy:

Questions on all things outlets, light switches, or covers? Ask me in the comment section below- I’m always happy to help! I hope this post is useful and informative. This is actually a question I’m asked often, and being a details person (as well as an interior designer), I definitely wanted to share my thoughts and professional opinion. I hope everyone is having a great day and your week is off to a lovely start!
